This is an example of how to set up a Laravel application to deploy on Kinsta’s Application Hosting services from a GitHub repository.
Laravel is a regular PHP-based application, so during the deployment process, Kinsta automatically installs dependencies defined in your composer.json file.
- Log in to GitHub and create a new repository from this template (Use this template > Create a new repository): Kinsta – Hello World – Laravel.
- Laravel requires the
APP_KEYenvironment variable to be set. You can generate an app key yourself locally, or you can use this online Laravel key generator. - In MyKinsta, add an application with the Hello World Laravel repository. In Environment variables, in Key 1, enter
APP_KEY, and in Value 1, paste the key generated from Step 2, select Available during runtime and Available during build process. - The Start command can be left blank for the web process as Kinsta automatically detects the required command during the first deployment.
Note: The first deployment may fail because you need to add the necessary Buildpacks. - So that the application can build the CSS/JS files, you need to add two buildpacks: Node.js and PHP. Click Settings > Add buildpack, select Node.js > Add buildpack. Repeat this for PHP.
The buildpack that contains the primary language of your application must be the last one in the buildpacks list. In this example, PHP is the primary language and should be the last buildpack in the list. - Click Deployments > Deploy now > choose the required branch > Deploy application.
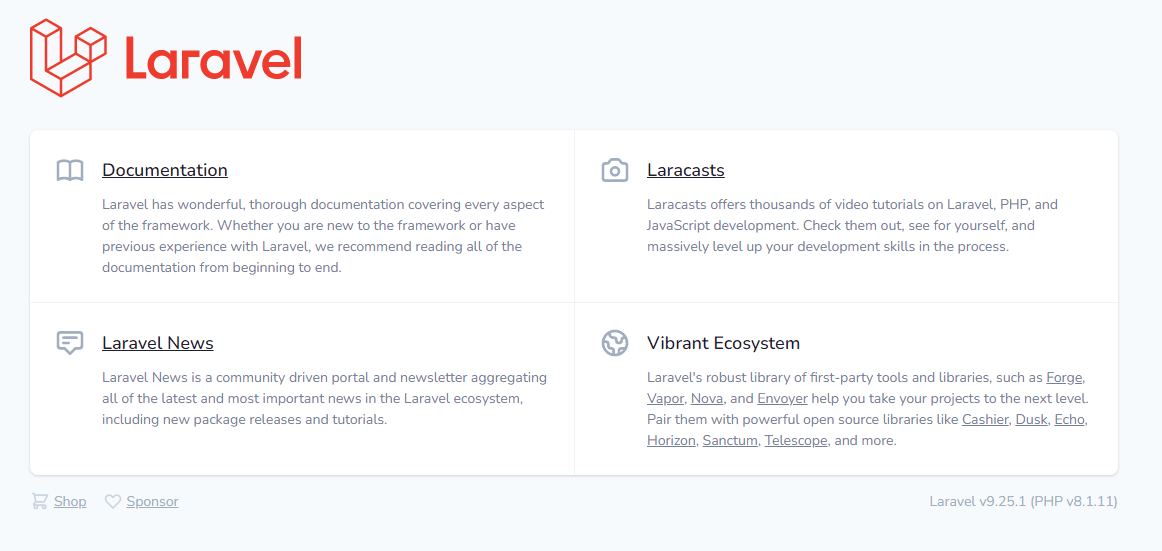
The app is available as soon as the build finishes and a Laravel page loads at your application’s URL.

Prefer to watch the video version?
Connect a Database
If you want to connect your application to a database, start by creating a database in the same data center your application is in.
- Add a database.
- Connect the database to the application by adding an internal connection and selecting the Add environment variables… checkbox. This will automatically populate the environment variables from the database.
- Some of the variable names (keys) Laravel uses are different from the ones automatically created in MyKinsta. Edit the variable keys as needed to match the variable names defined in Laravel’s database.php file. Below are the corresponding variable names (keys) for the database types Laravel supports.
Environment Variables
MySQL and PostgreSQL
| Automatically Generated Key | Laravel Key |
| DB_HOST | DB_HOST |
| DB_PORT | DB_PORT |
| DB_NAME | DB_DATABASE |
| DB_USER | DB_USERNAME |
| DB_PASSWORD | DB_PASSWORD |
| DB_CONNECTION_URL | DB_URL |
Redis
| Automatically Generated Key | Laravel Key |
| DB_HOST | REDIS_HOST |
| DB_PORT | REDIS_PORT |
| DB_NAME | REDIS_DB |
| DB_USER | REDIS_USERNAME |
| DB_PASSWORD | REDIS_PASSWORD |
| DB_CONNECTION_URL | REDIS_URL |
Laravel APP_KEY
Laravel requires the APP_KEY environment variable to be set. If this key is not set, you will see a 500 error page served by Laravel. You can generate an app key yourself locally, or you can use the online Laravel key generator. Once you have a key, you can add it as an environment variable.
Buildpacks
In most cases, you’ll want the application to build the CSS/JS files, so you’ll need to add these two Buildpacks:
- Node JS
- PHP
The buildpack that contains the primary language of your application must be the last one in the buildpacks list. In this example, PHP is the primary language and should be the last buildpack in the list.
Web Server Setup
Start Command
The default web process is heroku-php-apache2. This example includes an .htaccess file that reroutes all requests to public/index.php for Laravel. If needed, you can change this command when adding your application (Set up your processes) or on the application’s Processes page after deployment. You can use:
heroku-php-apache2 /publicphp artisan serve --host 0.0.0.0 --port 8080